How to Use Green Screen in CapCut?
Capcut Templates > Blog >Green screens, also known as chroma keying, are a fundamental tool in modern video production. They allow content creators to replace a solid-colored background with any image or video footage, offering immense creative possibilities.
What is a Green Screen?
A green screen is a backdrop typically colored in chroma green, although sometimes blue screens are used as well. This color is chosen because it doesn’t normally appear in human skin tones or clothing, making it easier to isolate and remove during editing.
- History and Evolution: Green screen technology has evolved significantly since its inception. Originally used in Hollywood films, it’s now accessible to creators at all levels, thanks to advancements in digital editing software.
- Importance in Video Production: The use of green screens is pivotal in video production for various reasons. It allows for the creation of realistic-looking scenes without the need for elaborate sets or locations, saving time and money.
Why Use Green Screen in CapCut?
CapCut, a popular video editing app, integrates robust tools for green screen editing. Even beginners can achieve professional-looking results with its user-friendly interface and powerful features.
- Benefits of Green Screen Editing: Green screen editing opens up endless possibilities for creators. It enables them to transport subjects to any location, create surreal environments, and add dynamic backgrounds seamlessly.
- CapCut Features Supporting Green Screen: CapCut includes intuitive features such as chroma keying, which simplifies the process of removing the green background and replacing it with desired visuals.
Preparing for Green Screen Editing
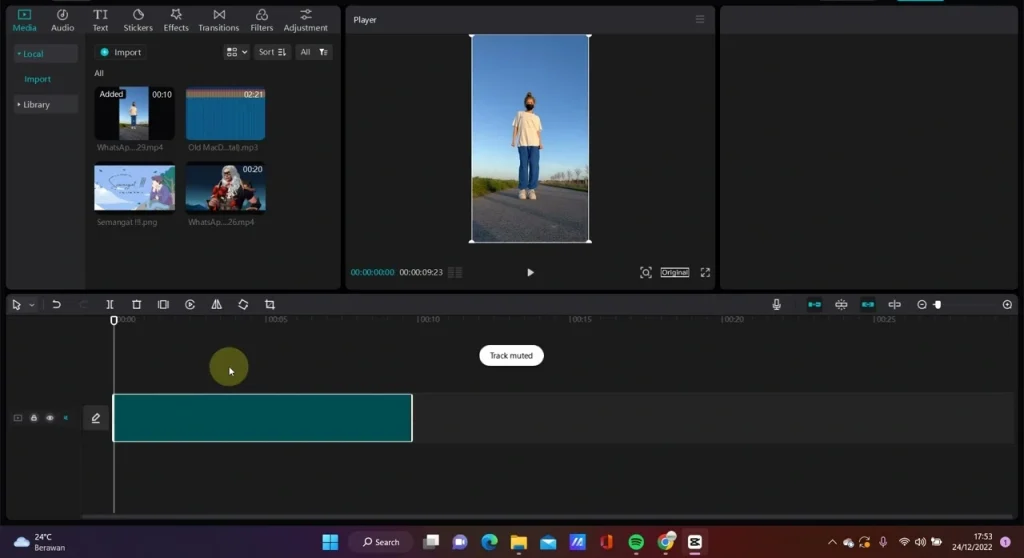
Importing Your Footage into CapCut
- Step-by-Step Guide Import your recorded footage into CapCut’s timeline, ensuring it’s organized and ready for editing.
- Supported Formats CapCut supports various video formats, ensuring compatibility with most cameras and devices.
Applying the Green Screen Effect in CapCut
- Using the Chroma Key Tool: Utilize CapCut’s chroma key tool to remove the green background from your footage seamlessly.
- Selecting the Green Color: Adjust the tool to select the specific shade of green used in your green screen setup for optimal results.
- Adjusting the Tolerance and Edge: Fine-tune settings like tolerance and edge feathering to ensure a smooth transition between the subject and the new background.
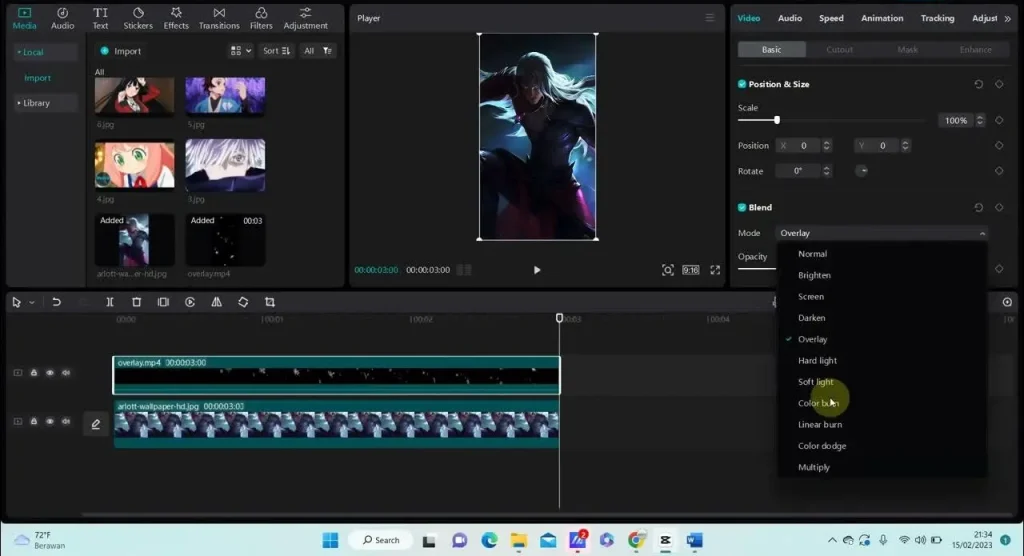
Adding Backgrounds and Overlays
- Choosing the Right Background: Select backgrounds that complement your footage and enhance the overall storytelling or aesthetic appeal.
- Positioning Overlays for Best Effect: Overlay additional elements such as graphics or animations to further enrich your video content and engage viewers.
Fine-Tuning Your Green Screen Edits
- Color Correction Tips Adjust color and contrast to ensure the subject integrates seamlessly with the new background for a natural look.
- Ensuring Seamless Integration Review your edited footage to ensure there are no visible artifacts or inconsistencies between the subject and the background.
Exporting Your Final Video
- Best Export Settings for Quality Choose appropriate export settings in CapCut to maintain video quality and optimize file size for sharing or further distribution.
- Sharing on Social Media Platforms Share your final green screen edited video directly from CapCut to various social media platforms to reach your audience effectively.
Conclusion
Mastering green screen editing in CapCut opens up a world of creative possibilities for video creators. With the right setup, techniques, and software tools, anyone can produce professional-quality videos that captivate and engage audiences.
FAQs
Green screens allow creators to place subjects in any location or environment without physically being there, saving time and costs.
Ensure your green screen is well-lit, use the chroma key tool effectively, and fine-tune settings like tolerance and edge feathering.
Opt for wrinkle-free, evenly colored green screen materials to simplify editing and achieve better results.
Yes, CapCut supports various video formats and resolutions, making it suitable for professional-level editing tasks.
Avoid uneven lighting, shadows, or wrinkles in the green screen material, as these can complicate editing and affect the final result.